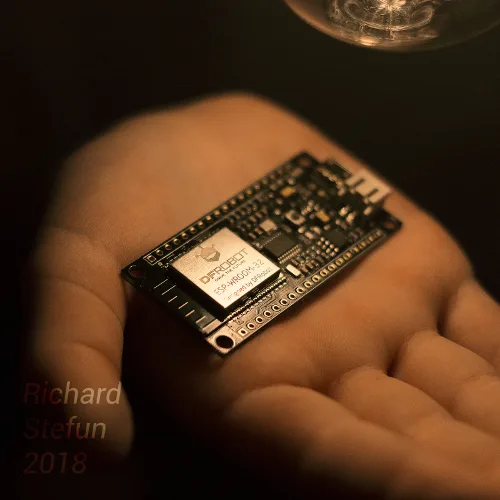
I would like to thank Richard Stefun for this very good article about ESP32 and development board.
The IOT applications of new generation.
After the launch of ESP-01 modules in 2014 that used the ESP8266 microcontrollers from Espressif Systems, the chip gained popularity among hackers, makers and tinkers. Mainly because of the low cost, high performance and availability the IC became some kind of standard in IOT applications. After a while, the community developed a powerful implementation that allowed users to code applications even in the Arduino IDE, which helped the IC to gain even more popularity. The IC includes a 80MHz 32-bit RISC processor with 64KiB of memory that supports standard peripherals like, for example, UART, I2C, I2S, SPI, GPIO, ADC. The program is stored in an external FLASH memory that can reach up to 16MiB. However, the most exciting peripheral of the IC, is without doubt its IEEE 802.11 b / g / n Wi-Fi radio, making it the perfect core for many IOT projects.
After the ESP8266 success, Espressif Systems released a new generation of the chip called ESP32. This new model has brought big improvements over previous generations. Here are its basic parameters:
CPU: Dualcore 32-bit Xtensa LX6, operating at 160 or 240MHz with a secondary low-power coprocessor
RAM: 520KiB SRAM
In addition to this, it has many interesting peripherals, such as:
8 channel 12-bit ADC
2 x 8-bit DAC
10 x capacitive touch sensor
Temperature sensor
4 x SPI
2 x I2S interface
2 x I2C interface
3 x UART
SD / SDIO / CE-ATA / MMC / eMMC host controller
Ethernet MAC interface
CAN bus 2.0
Infrared remote controller (TX / RX, up to 8 channels)
Hall sensor.
In addition to the IEEE 802.11 b / g / n radio, the ESP32 also has support for Bluetooth version v4.2 BR / EDR with BLE.
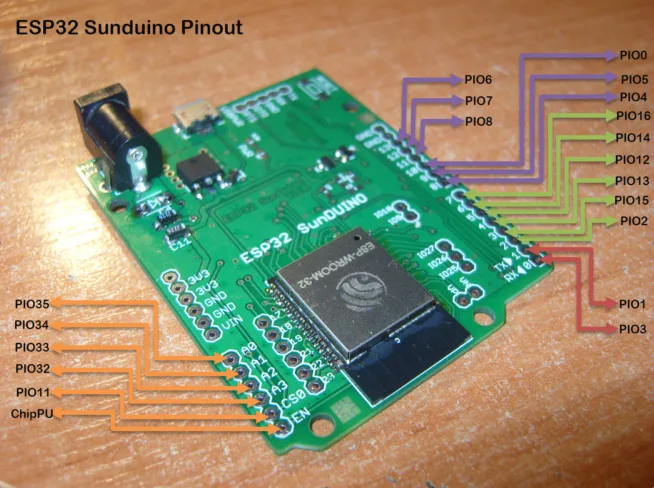
As you can see, it is a really important generational step that allows improvements to existing systems as well as greater options for more complex solutions at the same affordable price as the previous generation. This circuit is also distributed on various modules, such as ESP32-WROOM-32.
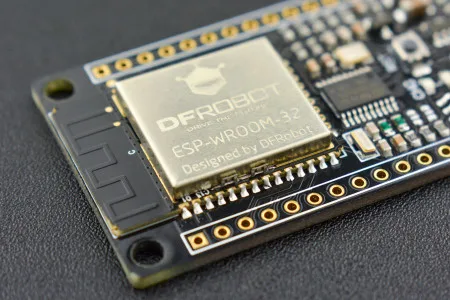
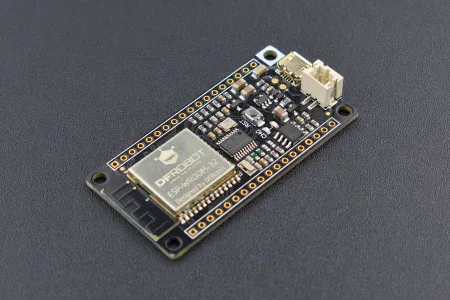
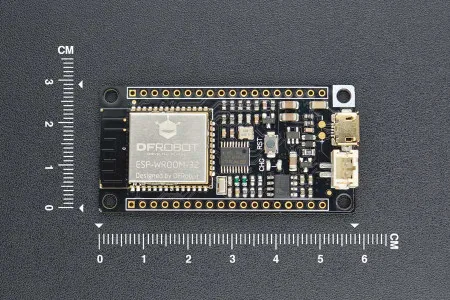
This module is used in the DFRobot FireBeetle board. On the board, besides the mentioned module, is a STM32F042F6P6 microcontroller which is used as a programmer / debugger for applications running on the main microcontroller. Another interesting thing about the board is the complete power management for lithium batteries including the charging circuit. This functionality is particularly useful for portable applications or for solutions that require continuous operation of the system, regardless of the supply voltage.
Connecting the board to Arduino IDE is quite simple. After connecting the board through the MicroUSB port to a PC, you need to install a driver on Windows to make it possible to see the board as a COM port. A guide can be found on FireBeetle Wikipage on DFRobot. We install the Inf file using the Driver Update dialog in Device Manager. Then the board is visible as a COM port.
In the Arduino IDE, you need to add a board using the following procedure on Espressif GitHub (Windows Installer). After cloning the repository and downloading the latest version of the toolchain, the board is available in the Board list. It can then be programmed as any Arduino-compatible device. All you need to do is just select the correct COM port and upload the program.
Note of administrator: DFRobot offers also own library for Arduino IDE, see this link.
In the example sketches, there are several examples that use the BLE ESP32 peripheral, such as “BLE_scan”. After the app is loaded into the board and the RST button is pressed, the application launches and a list of surrounding BLE devices can be seen on the serial monitor.
In the next part of this review, we?ll talk about how to use the BLE peripheral in combination with the I2S bus to create a Bluetooth audio interface for Line In Input HiFi systems.
Driver:
https://git.oschina.net/dfrobot/FireBeetle-ESP32/raw/master/FireBeetle-ESP32.inf
Github Espressif Link:
https://github.com/espressif/arduino-esp32/blob/master/docs/arduino-ide/windows.md


