Internet radio receiver with ESP32. Complete guide including 3D printing. Home Assistant support included.

In short: YoRadio is an open-source internet radio built around an ESP32 WROOM with the ESP32-audioI2S library. The complete project includes firmware, two PCB designs, a 3D-printable enclosure on Printables, and Home Assistant integration via MQTT. Audio output uses either an I2S DAC (UDA1334) or a VS1053b decoder shield. It supports a wide range of displays – TFT, OLED, 16×2 character LCD, or Nokia 5110 – plus encoders and buttons. Build it with Arduino IDE 1.8.19 (not 2.x) and ESP32 core 2.0.0 or higher.

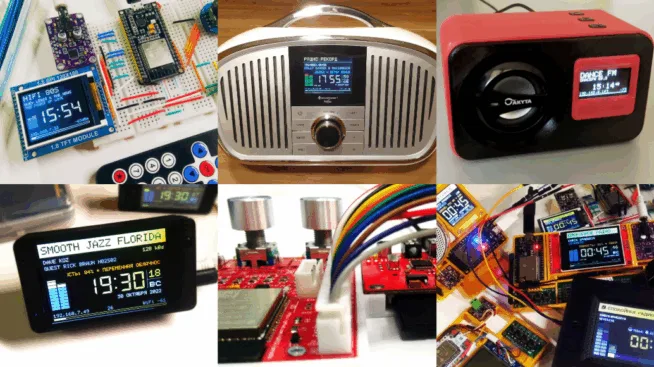
The YoRadio project is an open-source internet radio built on the Wi-Fi and Bluetooth chip ESP32 with the ESP32-audioI2S library. It features complete documentation, a wide range of supported displays, and can be controlled via MQTT (suitable for Home Assistant).

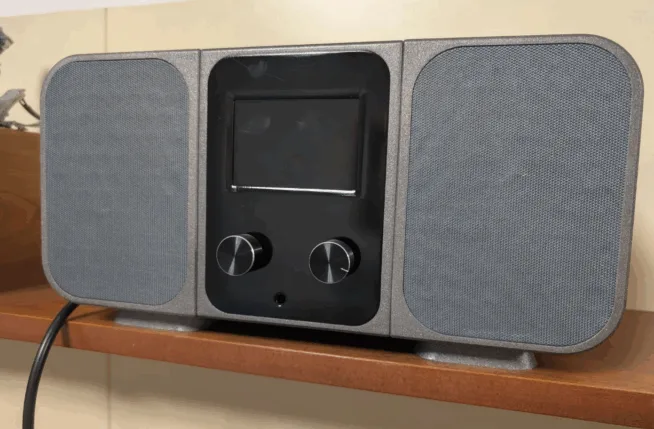
I stumbled upon this project while browsing printables. I was impressed by how good it looks, and all the materials – PCB, code, and 3D print files are freely available, plus the entire project is well documented. It also includes integration into Home Assistant.

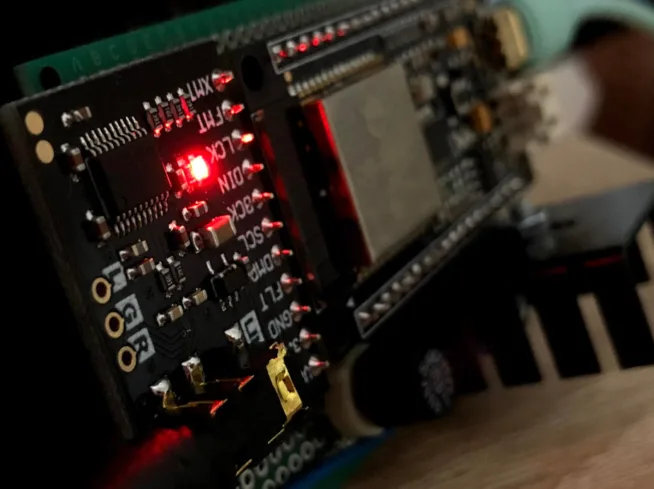
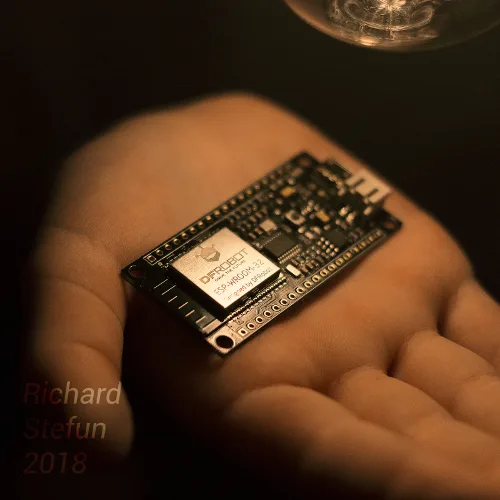
As I mentioned, the entire project is based on the ESP32 – a classic ESP32 WROOM development board (laskakit)
Additionally, you will need an I2S DAC UDA1334 (botland), and one of the available VS1053b modules – for example, this shield (laskakit, botland).

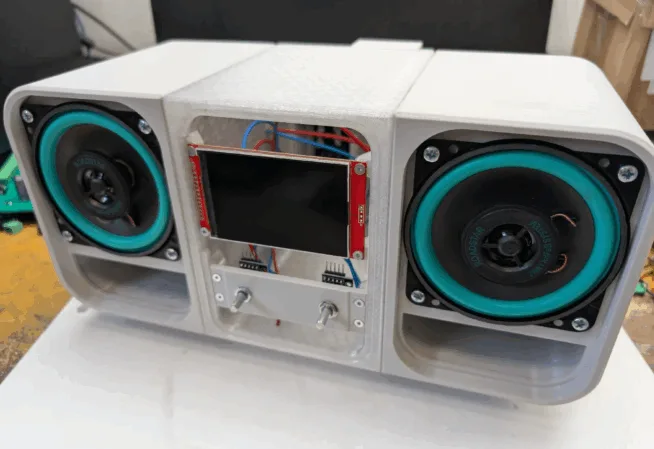
Then optionally one of the many supported displays – TFT, OLED, 16×2, or Nokia 5110 display. To perfect it, you will also need to purchase buttons, a joystick, an encoder, and other small parts – you can find them on the project’s GitHub.

Just be careful of these two pitfalls!
Arduino IDE version 2.x.x is not supported. Use Arduino IDE 1.8.19
ESP32 core version 2.0.0 or higher is required!

Project Wiki https://github.com/e2002/yoradio/wiki

Project GitHub https://github.com/e2002/yoradio

3D print https://printables.com/model/1215555-internetradio-yoradio-esp32

PCB (two available versions) https://github.com/e2002/yopcb

The project is still active, and further improvements are being implemented. Another great advantage is the support for add-ons that you can use to enhance this interesting project.

You are asking

What hardware do I need to build YoRadio?

Core hardware: an ESP32 WROOM development board, an audio output (I2S DAC like UDA1334 or a VS1053b shield), and one of the supported displays – TFT, OLED, 16×2 LCD, or Nokia 5110. To round it out you'll want buttons or a rotary encoder for control, optionally a joystick. Two pre-made PCBs are available on the project's GitHub if you don't want to wire it on a breadboard.

Can I control YoRadio from Home Assistant?

Yes – YoRadio communicates over MQTT, which makes integration with Home Assistant straightforward. You can control playback (play/pause, volume, station selection) from any HA dashboard or automation, and the radio reports its current state back. The MQTT broker setup is documented in the project's wiki.

What's the easiest way to flash the firmware?

Two pitfalls to avoid: don't use Arduino IDE 2.x – it's not supported, you need Arduino IDE 1.8.19. And the ESP32 core must be version 2.0.0 or higher. Once you have the right toolchain, the project's wiki on GitHub walks through library installation, pin configuration for your chosen display, and Wi-Fi setup.

Is there a 3D-printed enclosure available?

Yes, fully – the project provides STL files for a 3D-printable enclosure on Printables (model 1215555), two PCB designs on GitHub, complete source code, the firmware wiki, and addons for extending functionality. Everything from buttons to encoder wiring is documented, and the project is still actively developed.
Share the article:
Show your
Maker soul!
Buy a T-Shirt
Coffee for Chiptron
Give a boost to the next article

Related Articles

Finally, I can write you a short tutorial how to play with ESP32 (more powerful than ESP8266). On the internet is a lot of tutorials how to do it, but this is a little bit different. I don’t have LoLin32,…

I would like to thank Richard Štefún for this very good article about ESP32 and development board. In previous article we introduced the ESP32 microcontroller and its peripherals. Now, we will focus on the practical use of one of its…

I would like to thank Richard Stefun for this very good article about ESP32 and development board. The IOT applications of new generation. After the launch of ESP-01 modules in 2014 that used the ESP8266 microcontrollers from Espressif Systems, the…

A project for measuring air quality in homes, offices, or schools based entirely on open-source products, with support for home automation via Home Assistant. It provides a comprehensive analysis of air quality based on measurements of particulate matter, CO2 concentration,…

Creating an information display for ESPHome isn’t exactly straightforward. Every change requires editing the YAML, uploading it to the device, and waiting to see if it looks as you intended. This is exactly what the ESPHome Designer tool aims to…

The article could be titled “How I Enhanced a 3D-Printed Box with a Radiation Shield for a Weather Station with the SEN5x Sensor and Air Board Controller.” This would perfectly capture my effort. I improved the box by adding space…

Trends