Tinkercad can do a lot, but rounding an edge isn’t one of them. If you’ve ever used it to make a box that needed to fit inside another one, you know exactly what I mean.
Layerling looks almost exactly like Tinkercad and works the same way, but it also has fillets, chamfers, threads, sketches, and STEP export. And it still runs in your browser, for free and with no account required.
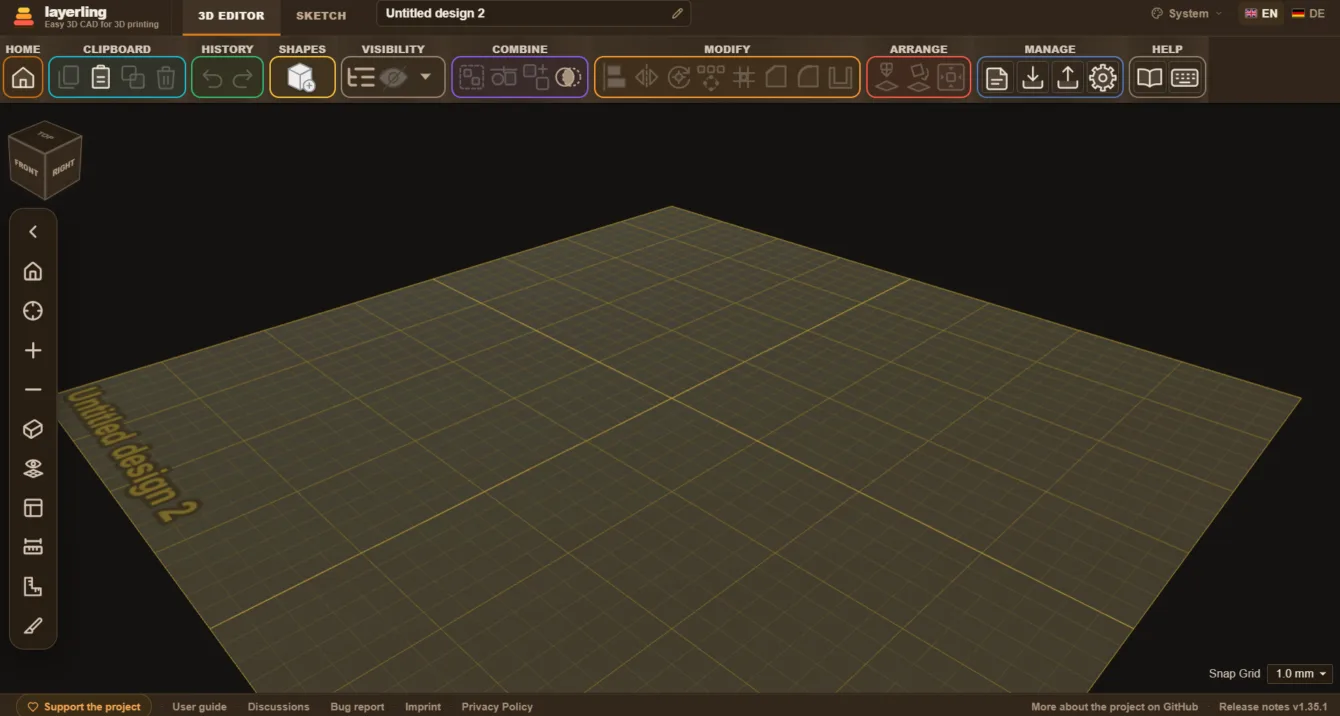
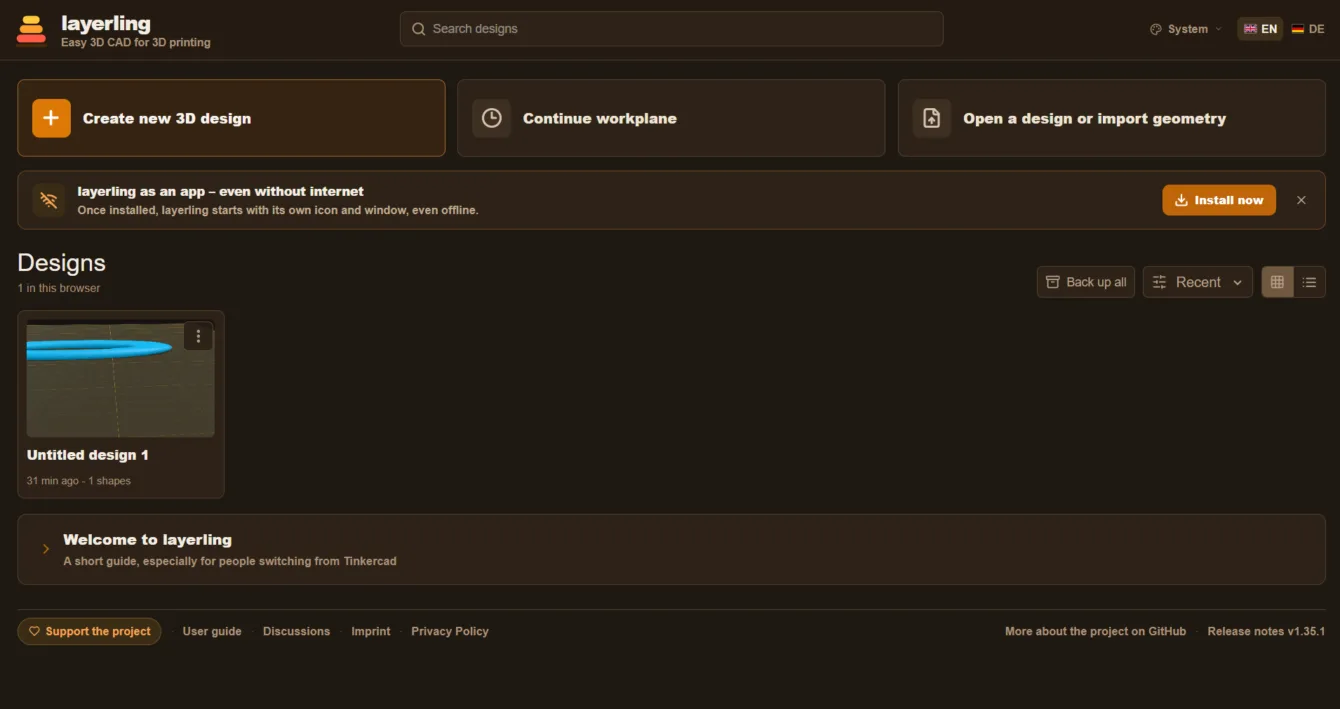
The project runs as a web app at layerling.com. Open the page and start modeling. No account, no cloud, and no uploading your models to someone else’s server. Designs are saved locally in your browser, and you download exports to your own device.
The author is a developer who goes by henmedia on GitHub. Layerling is a fork of SketchForge-3D, created in September 2026 from SketchForge 1.0.9. It’s licensed under GNU AGPL-3.0, the source code is public, and there’s nothing stopping you from running your own instance – say, on a workshop machine that others can open in their browsers.
The interface is currently available in English and German, but not Czech.
Modeling in Layerling
The workflow is practically identical to Tinkercad, so if you’ve modeled anything in it before, there’s nothing new to learn:
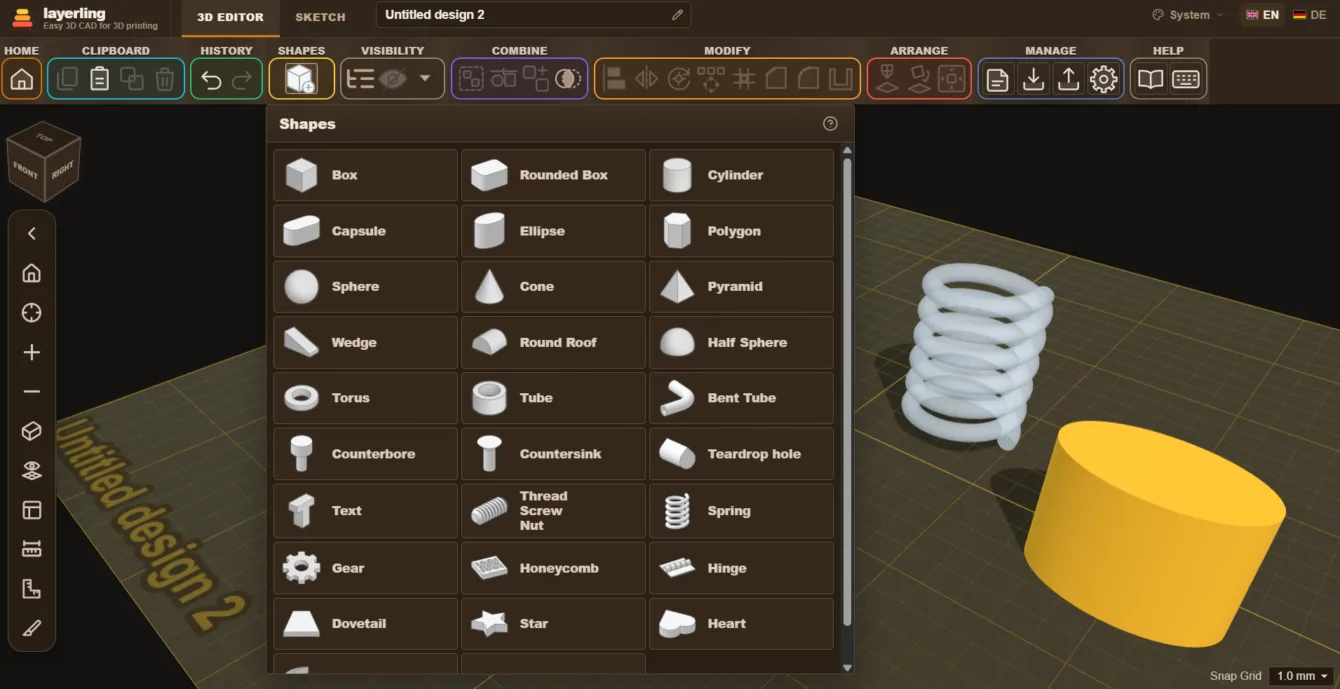
- Drag a box, cylinder, text, or another basic shape from the shape library on the right onto the build plate.
- Set the dimensions and position. You can also enter percentages for dimensions: type 50% to scale a shape down to half size.
- Each shape is either a solid or a hole. Grouping them subtracts the hole from the solid, creating an opening, slot, or pocket.
- Send the finished part to a slicer as an STL or 3MF, or to CAD software as a STEP file.
The rest of the controls will feel familiar too. Hold Shift to constrain movement to one axis. Hold Alt from the start of a drag to create a copy. Ctrl+Shift+O opens the object list. As you move shapes, they snap to the edges and centers of neighboring objects, and a guide line shows what they’ve snapped to.
What Layerling adds over Tinkercad
This is the main difference. Layerling doesn’t do anything radically differently; it just adds the features makers most often miss in Tinkercad.
Fillets and chamfers
Click an edge to round it or add a chamfer. This solves plenty of practical problems with printed parts. Chamfering the bottom edge helps prevent elephant’s foot, rounded edges get rid of sharp corners, and two parts slide together much more easily.
Edge treatments remain editable, so you can undo them whenever you like.
Real geometry under the hood
Layerling works with precise CAD geometry, not meshes. A rounded edge stays rounded instead of breaking into triangles every time you edit it. That also means you can export to STEP, take the model into full-fledged CAD software, and carry on there.
Hollow
One click turns a solid object into a shell with a uniform wall thickness, open at the top, bottom, or fully closed. You can choose sharp or rounded inner edges. That makes boxes and covers in just a few clicks.
Sketches
Draw a 2D outline, enter line lengths numerically, round or chamfer the corners, then extrude the outline or revolve it around an axis. This is standard CAD workflow, and Tinkercad has nothing like it.
Library of ready-made parts
Metric threads, UNC/UNF threads, G pipe threads, bolts, nuts, gears, springs, bent tubes, honeycomb infill, print-in-place hinges, dovetail joints, teardrop holes for horizontal bores, and countersinks for screw heads. Everything stays parametric, so you can change dimensions later too.
Measurements and section views
You get a tape measure, ruler, protractor, and measurements from the origin, including for multiple selected objects at once. A section view cuts through the model so you can look inside, measure wall thickness and clearances between parts, then save the section as an SVG for a laser cutter or as a template.
Bundles for multicolor printing
Ctrl+B keeps parts together without merging them. Their colors are preserved, and each part remains a separate body in the export – exactly what you need for multicolor printing with an AMS or MMU. If you’re printing in multiple colors without a toolchanger, this guide to changing filament with M600 may also come in handy.
Print preparation
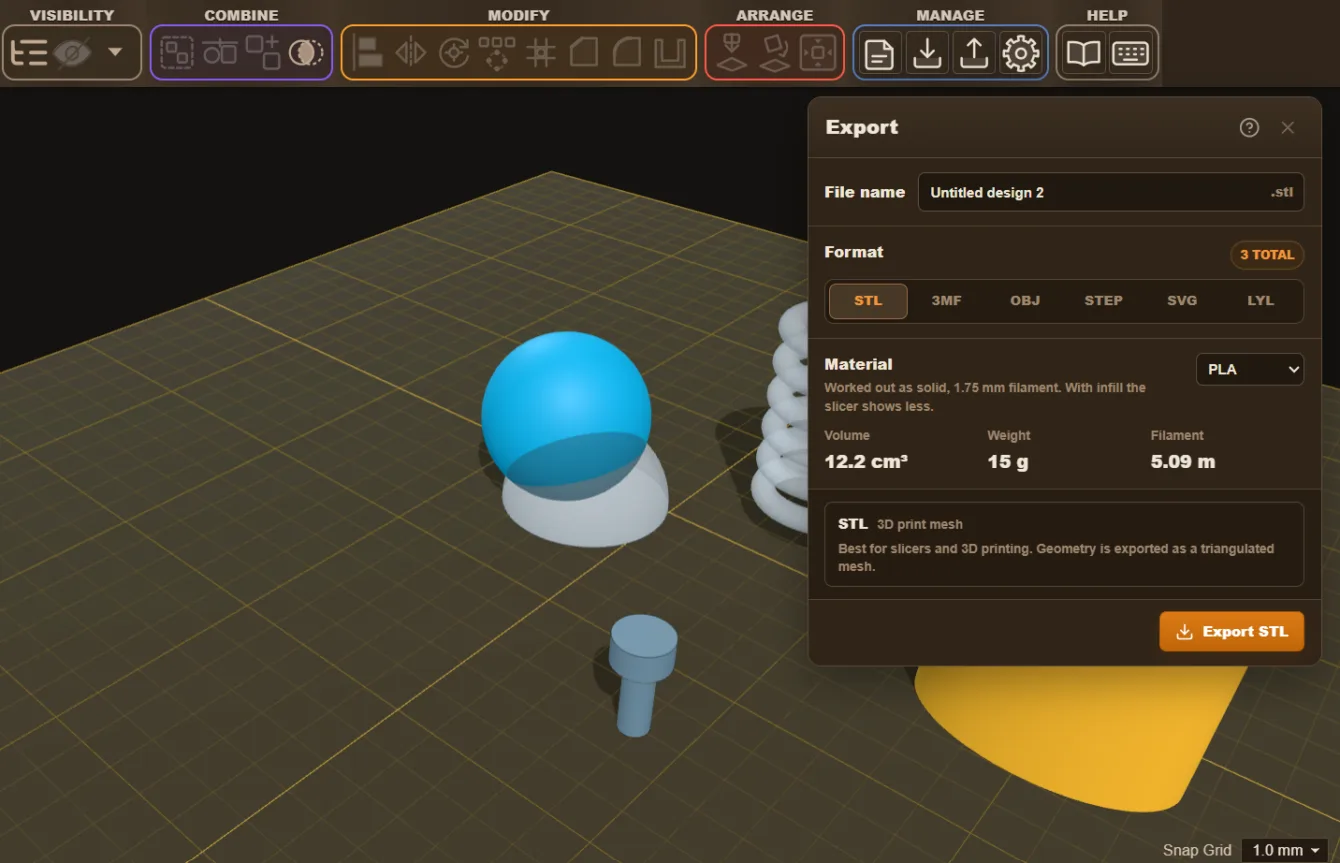
Layerling knows about roughly 190 printers and their build plates. Select your model and the app will warn you if a part extends beyond the build area or is too tall. It also flags overhangs that may need supports and estimates the part’s weight and filament use when you export it.
The Lay flat feature places a selected face flat on the build plate with one click, so orienting the part for printing is easy. For the rest – adhesion, temperatures, and stringing – see our interactive 3D printing troubleshooting guide. For materials, there’s also a filament selection guide.
Import, export, and where your designs are stored
You can import STL, OBJ, and 3MF files, including colors, as well as STEP, SVG, and images to use as references. You can also insert a part from another Layerling design directly into the project you have open. If you want to turn an image straight into a model, we have a separate guide to making an STL from SVG and PNG.
Layerling exports STL, OBJ, 3MF, and STEP files. The entire project, including its history, sketches, and groups, is saved as a .lyl file.
You can bundle all your designs into one file with a single click and restore them later, even in another browser or on a different computer. Do this regularly. Your data is stored in the browser, so if you clear the website data, it’s gone.
After your first visit, Layerling also works offline and can be installed as a regular app (PWA).
AI modeling with MCP
Layerling has its own MCP server, allowing a model such as Claude or Codex to build directly in the open editor. It can create shapes, change dimensions, group and cut objects, round edges, read the scene, and, most importantly, capture an image of the view so it can check and correct its own work. You can watch and step in at any time, because it’s still the same editor.
It’s a step up from generating OpenSCAD code with ChatGPT. The AI isn’t writing code blind; it can see what it has built.
There are around twenty tools available, from layerling_create_shape and layerling_apply_edge_treatment to layerling_capture_image.
The catch is that the MCP server runs only in the development version, which you have to run yourself. You’ll need Node.js 20 or later, then clone the repository and run npm run dev. Open the editor at http://127.0.0.1:3000/?editor=1. MCP is disabled on the public layerling.com site and on static hosting.
Claude Code reads its configuration from .mcp.json in the repository. Claude Desktop and Codex require you to add the server to their own configuration, using the templates in docs/mcp/. Details are in the MCP chapter of the guide.
Keep in mind that the scene and screenshots the AI reads are sent to your AI client’s provider, just like any other input.
Things to keep in mind
- It’s a young project. The fork was created in September 2026, and its community is still taking shape.
- No Czech language support. The interface and guide are available in English and German.
- No real-time collaboration. A shared folder on your own server can store
.lylprojects, but it’s file storage, not simultaneous editing. If someone else changes a file in the meantime, Layerling will refuse to overwrite it. - Data lives in your browser. Good for privacy, risky for backups. Use the backup export.
Who it’s for
Layerling makes sense if you have a 3D printer and want to quickly make a part that fits something, without having to learn full-fledged CAD. Think brackets, boxes, adapters, spacers, and replacement parts.
If Tinkercad does everything you need and you’ve never wanted to round an edge, you’re not missing out. But once you start running into missing fillets, threads, or a decent export option, Layerling is the quickest way forward without switching to Fusion 360 or FreeCAD.
Links
- layerling.com – open the editor
- User guide – sixteen chapters, including keyboard shortcuts
- GitHub – source code, README, and instructions for running your own instance
- Discussions – community, questions, and bug reports