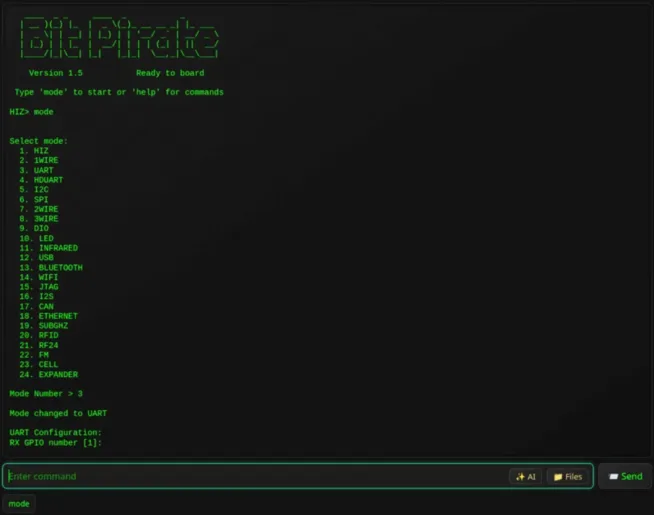
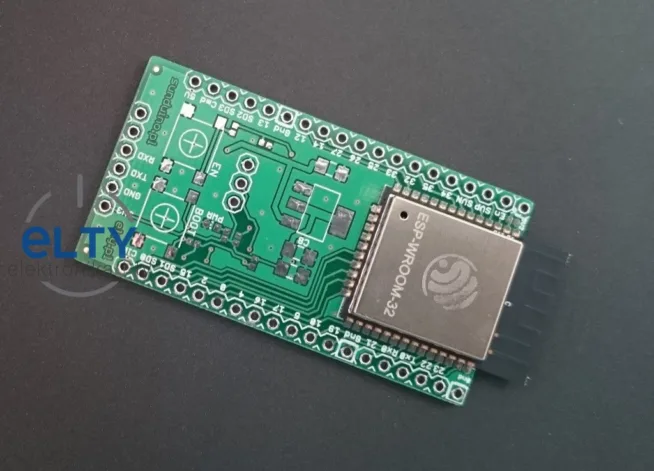
Chromium has had the Web Serial API for several years now. It lets a web page – with your permission – connect to a serial port just like a desktop app. That removes the main reason these little tools ever needed to be native programs. Each one is just a single HTML page: all communication happens between the browser and the board, nothing goes to a server (not even the firmware you’re flashing), and settings live only in the browser’s localStorage. All three share the same look, a Czech/English toggle, and light/dark modes.
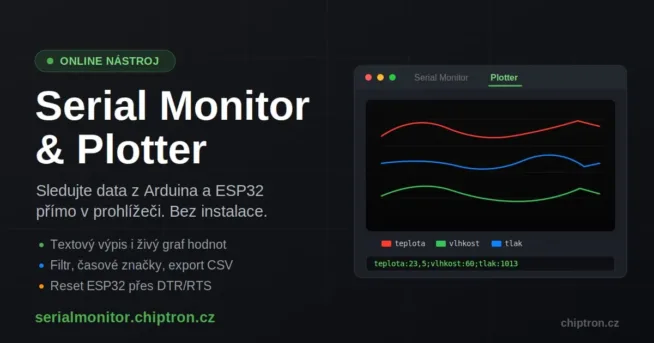
Serial Monitor: board output and a graph in one
A classic serial monitor like the one in Arduino IDE, but with a few extras. Pick a baud rate, hit Connect, the browser asks for the port, and from then on you see everything the board is sending.
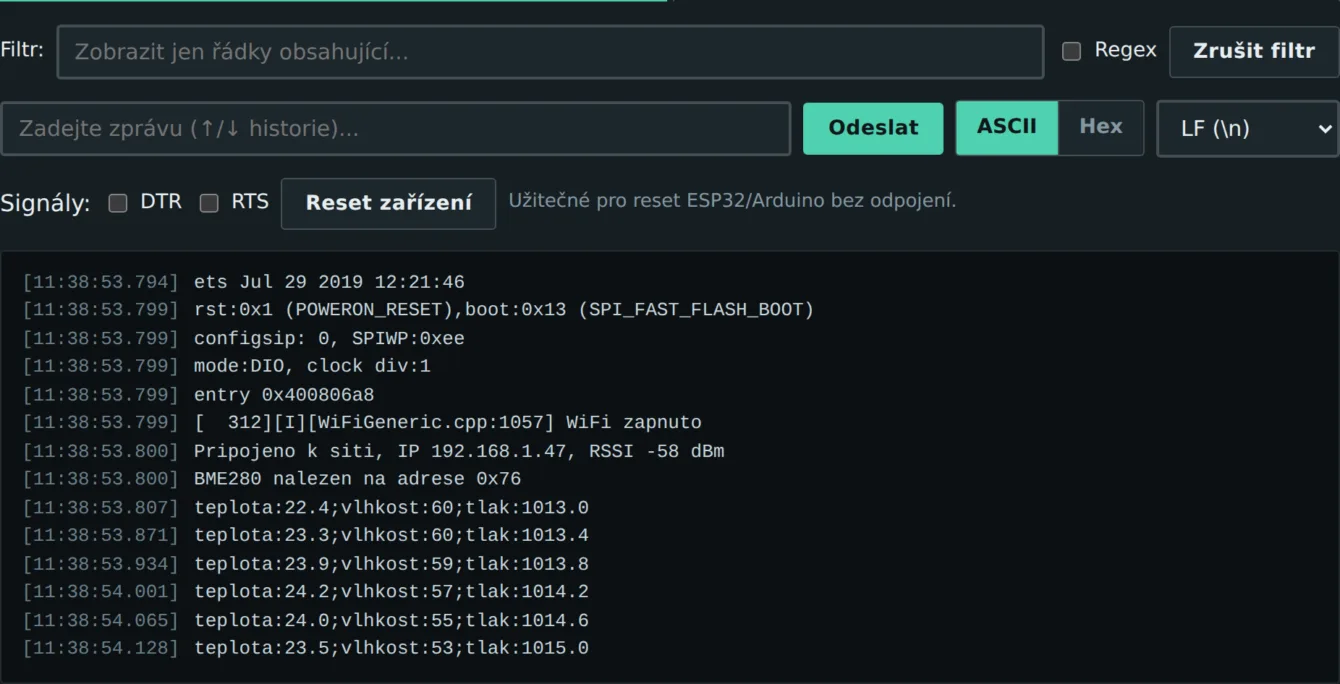
- Baud rate from 9600 to 921600 plus a custom value. The change only takes effect on the next connection; the tool warns you.
- Receive format ASCII, HEX or BIN. In ASCII you can also pick the encoding (UTF-8, ISO-8859-2, Windows-1250) – useful with older devices that still spit out Windows-1250 diacritics.
- Timestamps off, on every line, or on a separate line after a chosen interval. The third option works well with fast data streams.
- Filter hides lines without the search text and highlights matches in the rest. With Regex checked you can pull just errors with
^(E|ERROR|CHYBA). An invalid expression simply disables the filter. - Transmit with history under the arrow keys, choice of line ending (LF, CR, CRLF, none) and an ASCII/HEX toggle. In HEX mode you type
DEAD BEEFand four bytes go out. - Device reset pulses DTR and RTS so the board restarts without you yanking the USB cable. You can also hold both signals manually.
- Export the output to
.txtor.csvwith timestamps in both milliseconds and ISO format.
Plotter: numeric data straight into a graph
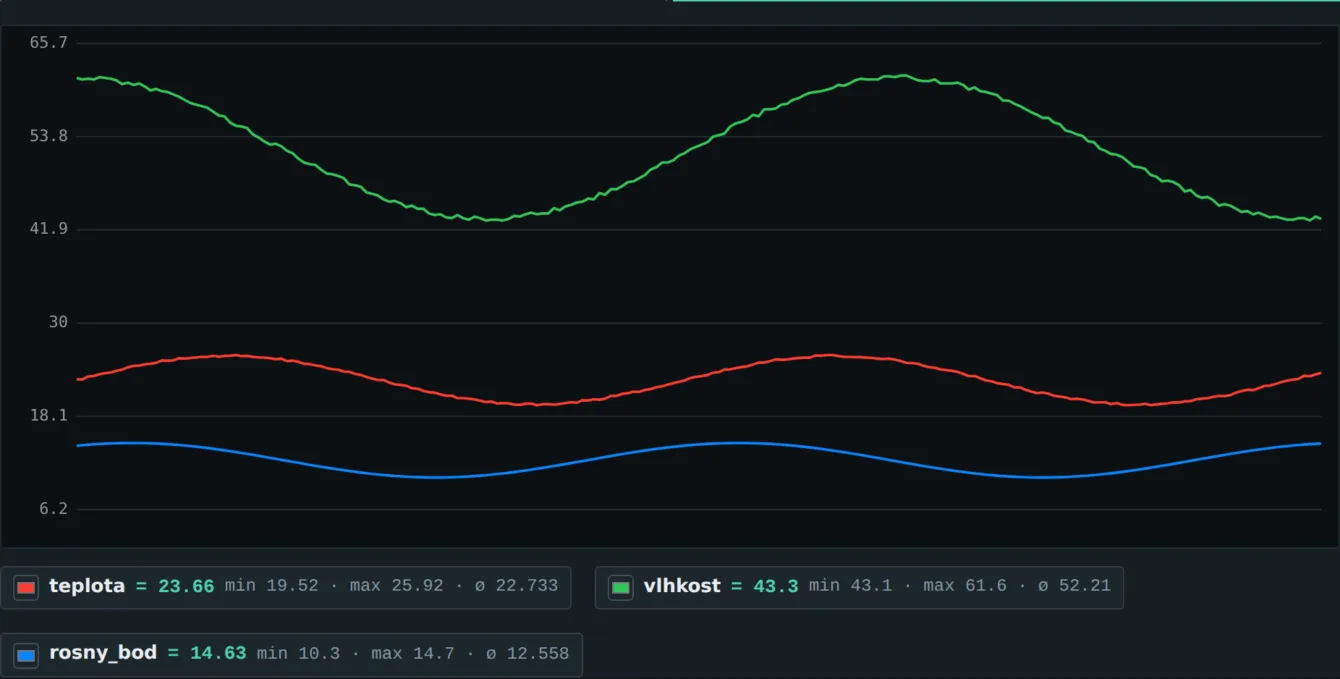
The Plotter tab draws numbers arriving over serial into a graph. Just send them separated by semicolons:
Serial.printf("temperature:%.2f;humidity:%.1f;dew_point:%.2fn", t, h, dp);Series names are optional; 23.5;60;1013 works too. The default semicolon leaves the comma free as a decimal separator, so 23,5 is accepted. The Y axis auto-scales but can be locked, and the graph can be saved as PNG or exported to CSV.
Two things worth knowing up front. The Plotter grabs every number it finds on a line, so an ESP32 boot log will create phantom series out of nothing. Also avoid mixing quantities with very different ranges: 1013 hPa pressure will squash a 23 °C temperature trace flat against the bottom.
Serial Monitor is at https://serialmonitor.chiptron.cz/
ESP32 Web Flasher: flashing firmware without esptool
Flashing a ready .bin into an ESP32 is still unnecessarily awkward. Either you install Python and esptool.py, or you open a project in Arduino IDE that you didn’t want to compile in the first place. Worst of all, you have to know the offsets for each file – the bootloader sits at a different address on the original ESP32 than on the newer S3 and C3, which is the most common reason a board ends up in a reboot loop after manual flashing. Flasher is built on esptool-js, Espressif’s official JavaScript port of esptool, and it handles the offsets for you: it picks the right ones based on the selected chip and, after connecting, reads the actual hardware so it won’t even start flashing if your selection doesn’t match. There are four steps and each one only unlocks after the previous one is done.
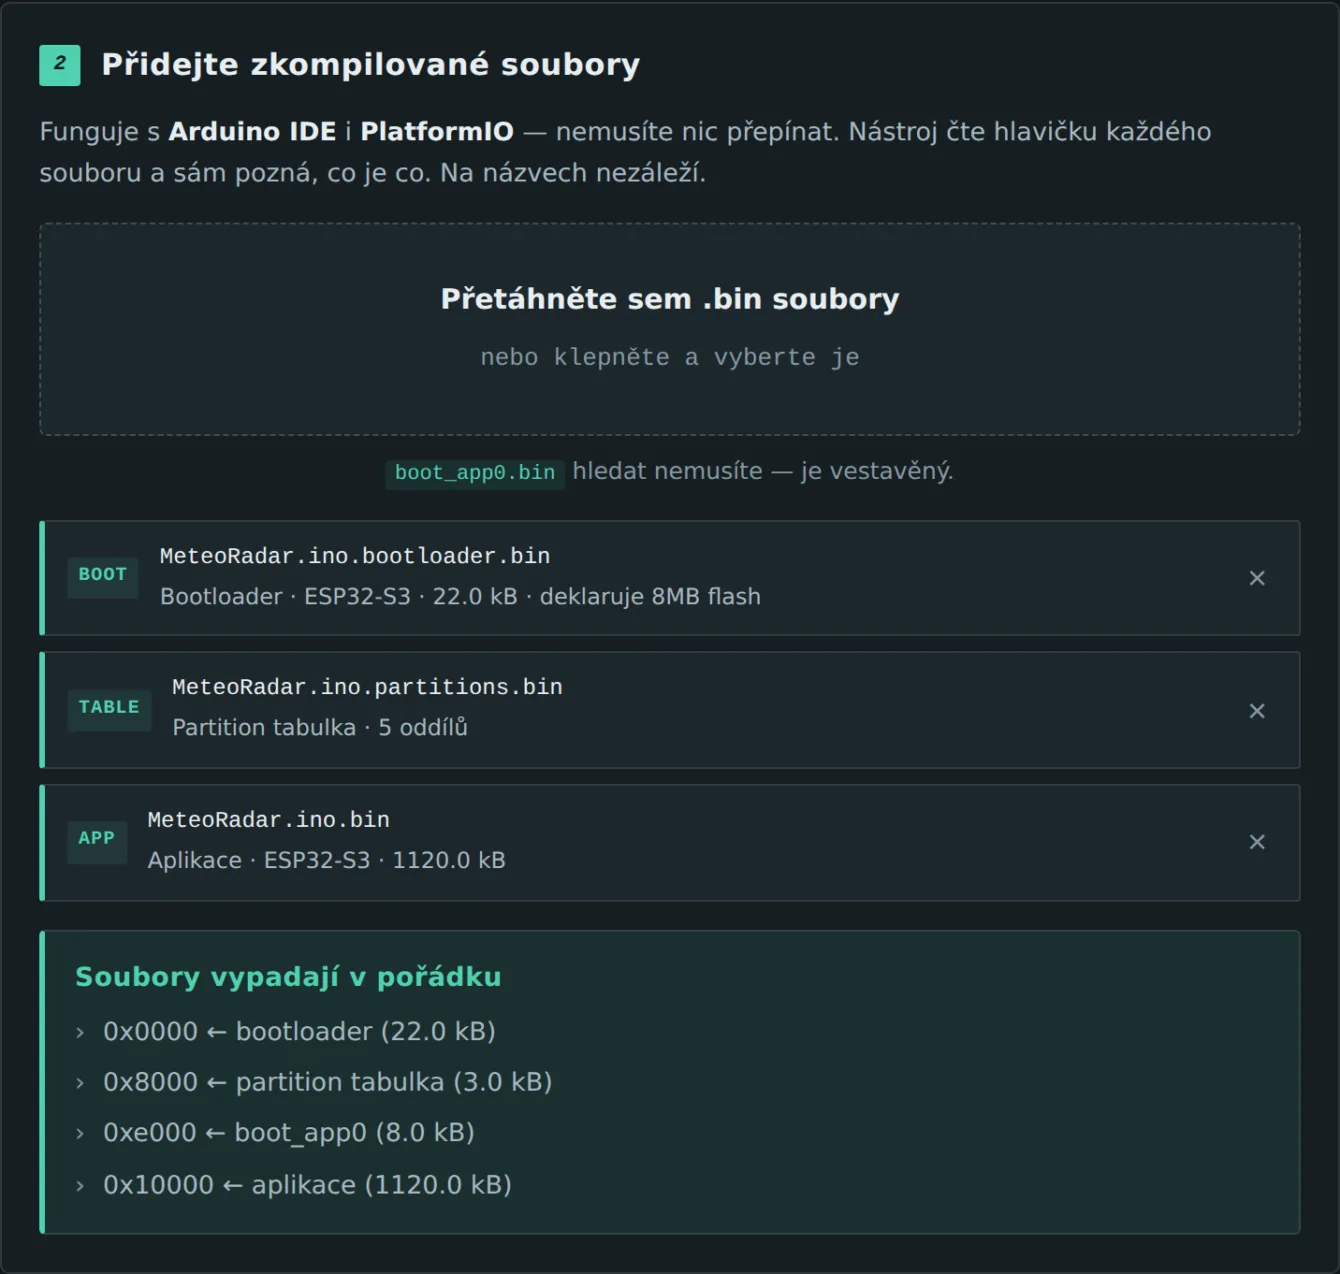
Drag .bin files onto the drop zone and the tool reads their headers. A firmware image starts with byte 0xE9, a partition table with 0xAA 0x50, and the bootloader is distinguished from the application by size. A merged image (firmware.factory.bin from esptool merge_bin) is recognised by the partition table it carries at 0x8000; it is written as a single file at 0x0 and the tool refuses to add any more files to it. The header also contains chip_id at offset 12, so firmware for the wrong chip is rejected.
You don’t need to hunt for boot_app0.bin. Neither Arduino IDE nor PlatformIO export it, yet without it a board with OTA partitioning may never boot. It’s 8 kB filled with 0xFF – an empty OTA partition – and the flasher has it built in.
Before writing you can run a dry-run check that walks through every rule and prints the plan without touching the board. Optionally it can verify an MD5 checksum after flashing and launch the serial monitor. The Backup current button reads the entire flash into a file – handy for boards whose firmware you have nowhere else. On 4 MB it takes about a minute.
One reassuring note: you won’t brick the board with bad firmware. Flash memory can always be overwritten again. The only irreversible way to kill an ESP32 is by writing eFuses, and this tool never touches them.
ESP32 flasher is at https://esp32flasher.chiptron.cz/
Number base converter: DEC, BIN, HEX, ASCII and bit masks
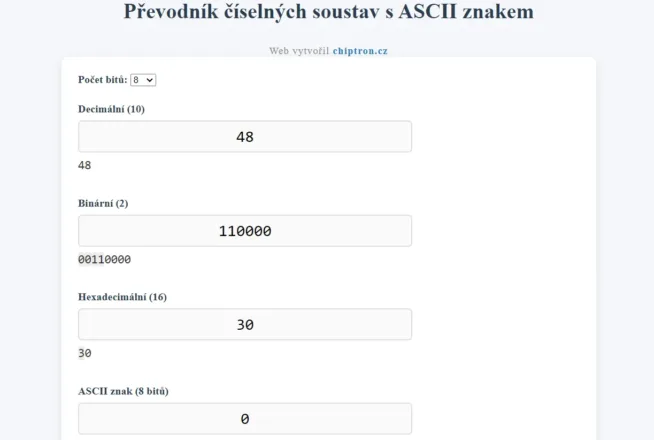
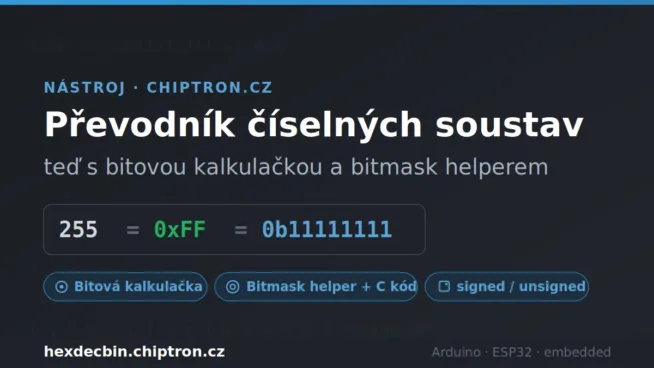
The smallest of the three and the one I use most often. Four fields: type a value into any of them and the others update automatically. The key setting is width – 8, 16, 32 or 64 bits. The value then behaves like a register; anything that doesn’t fit gets truncated and the tool reports it. Switching to Signed shows the two’s-complement negative interpretation while the bit pattern stays the same. That’s exactly when it clicks why 0xFF is 255 one moment and –1 the next.
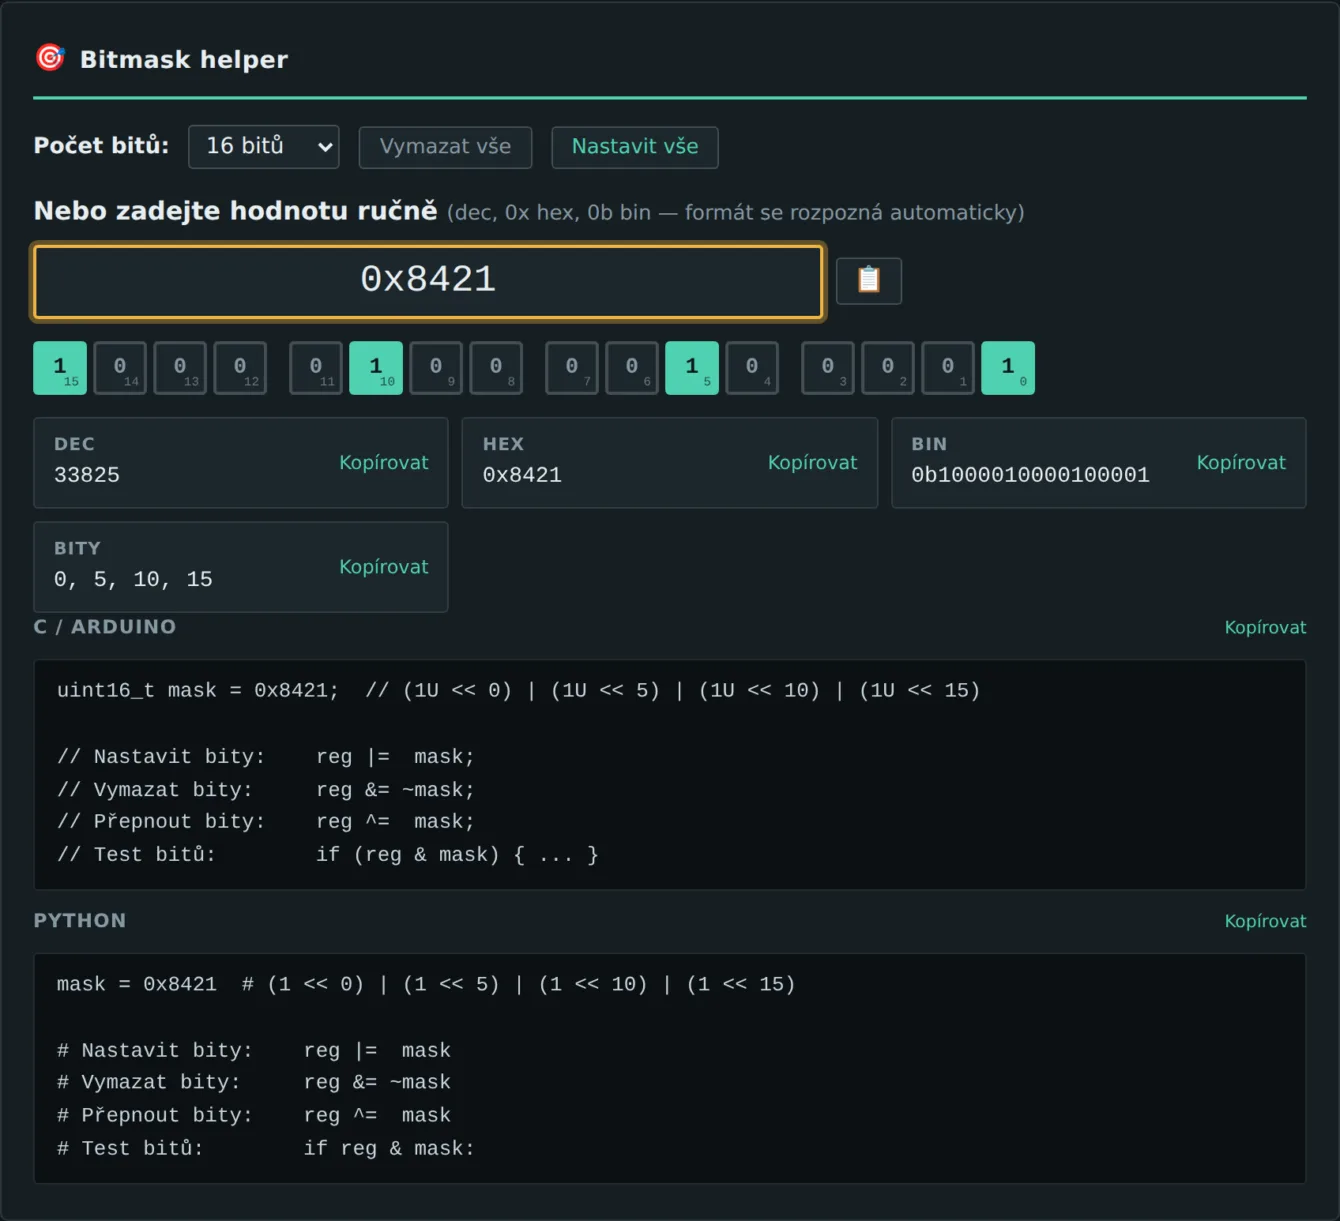
The Prefix & C types tab shows the same value in forms you can paste straight into code (0xFF, 0b11111111, 0o377, $FF, %11111111) plus the C type qualifiers that will hold it. The Bit calculator does AND, OR, XOR, NOT and shifts; the result format follows operand A. The Bitmask helper is the part I wrote the converter for:
uint16_t mask = 0x8421;  // (1U << 0) | (1U << 5) | (1U << 10) | (1U << 15)

// Set bits:   reg |=  mask;
// Clear bits: reg &= ~mask;
// Toggle bits: reg ^=  mask;
// Test bits:  if (reg & mask) { ... }
You can set widths outside the usual choices – 24 bits, for example – and the selected bits stay preserved. Everything copies with one click and the result can be shared via a link because the state is stored in the page URL.
The number base converter is at https://hexdecbin.chiptron.cz/
What you need
Both Serial Monitor and Flasher rely on the Web Serial API, which is only available in Chromium-based browsers: Chrome, Edge and Opera on desktop. Firefox and Safari don’t support it; Android support is still rolling out and depends on both Chrome version and device; iOS has none. The converter is pure JavaScript and runs everywhere.
If the board never appears in the port dialog, the cable is almost always to blame. Plenty of USB cables only carry power and lack the data wires, so the board lights up but the computer never sees it. If that doesn’t fix it, you’re missing the CP2102 or CH340 driver. Boards with native USB (ESP32-S3 and C3) don’t need one.
The tools are free and ad-free. If one of them saves you an evening of debugging, a coffee would be appreciated: buymeacoffee.com/chiptroncz.